My pencil holder was made using 3 recycable materials: Plastic bottle, plastic bag and recycable rubber bands.
Here are the instructions for how I made my pencil holder:
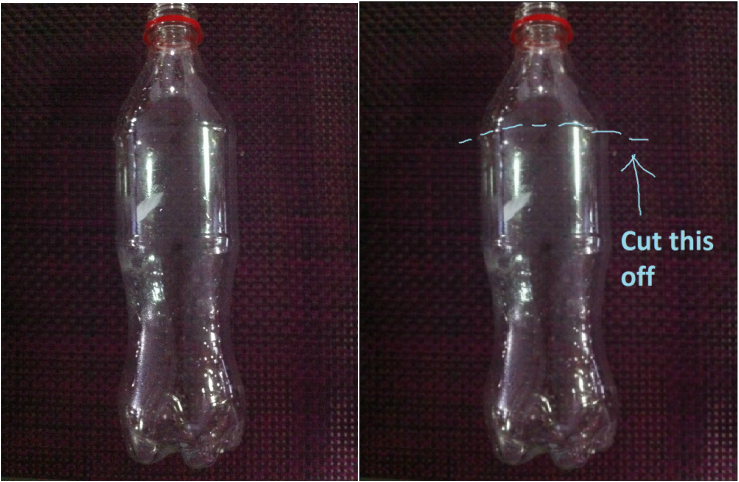
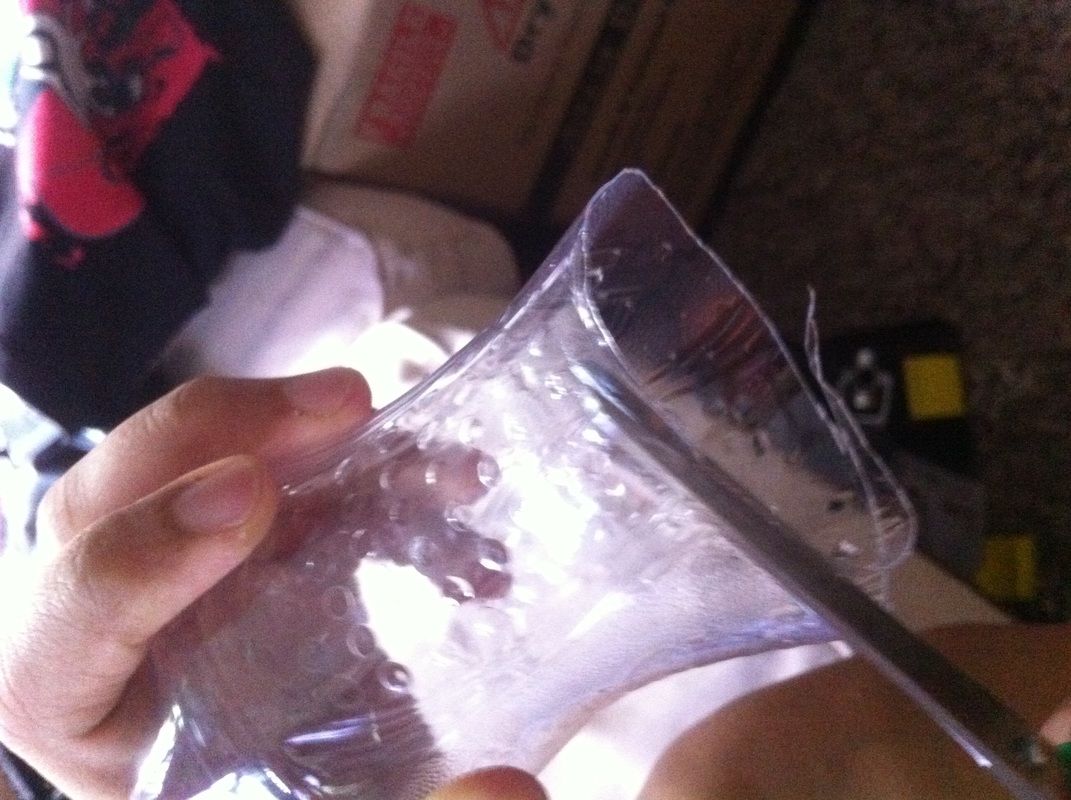
1. Cut the top of a bottle. It is where the curved top of a bottle meets the straight portion of the bottle in the middle.
Here are the instructions for how I made my pencil holder:
1. Cut the top of a bottle. It is where the curved top of a bottle meets the straight portion of the bottle in the middle.
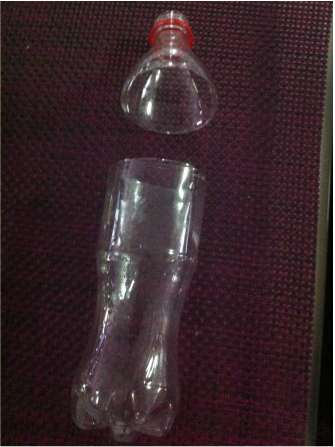
2. Do the same for the bottom of the straight portion. Cut it off.
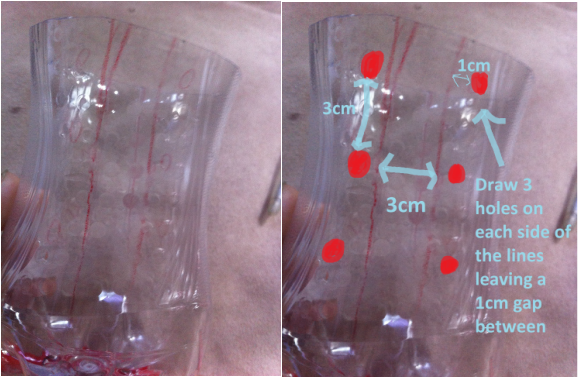
3. Find two opposite sides and make two lines on each side leaving about 3-4 cm gap in between the two lines. At the sides of the lines, at about 1 cm, mark a dot to emphasise a hole is to be cut off at that area. After the marking of one hole, leave a 3 cm gap between the hole and another hole at the bottom. Do this until there are 3 holes present at each side of the lines. Cut the marked areas including the 4 lines.
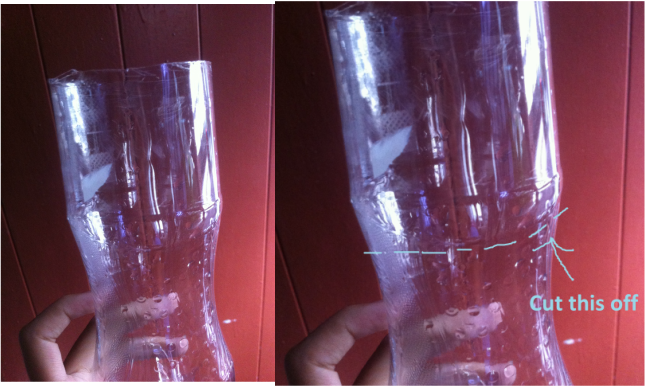
Warning: Do not cut the lines all the way to the bottom of the bottle. End the cutting at about 3-4 cm from the bottom of the bottle.
Warning: Do not cut the lines all the way to the bottom of the bottle. End the cutting at about 3-4 cm from the bottom of the bottle.
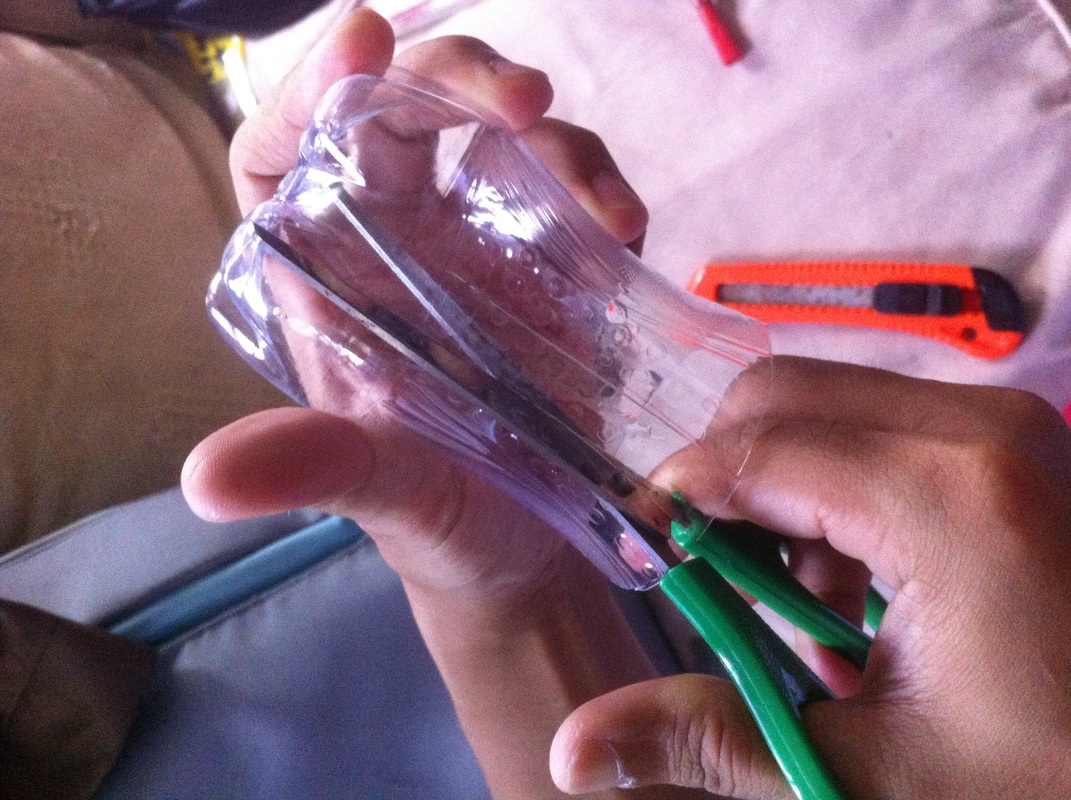
This are the pictures during the cutting process:
For the holes, I used a hole puncher. The size of the holes are just fine.
For the holes, I used a hole puncher. The size of the holes are just fine.
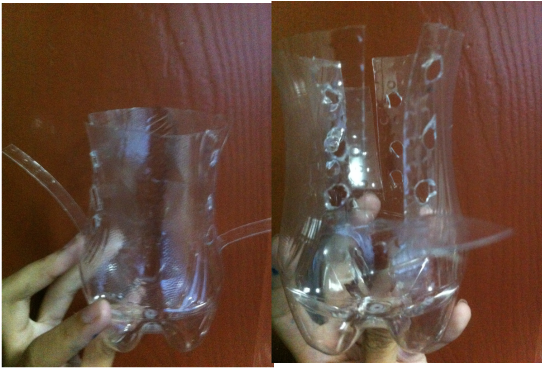
4. After cutting the lines, you should have 2 strips. Bend the strips a little bit. It should look something like this:
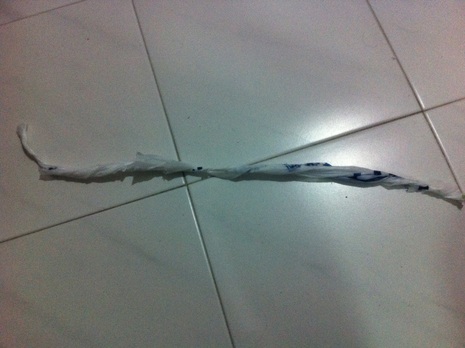
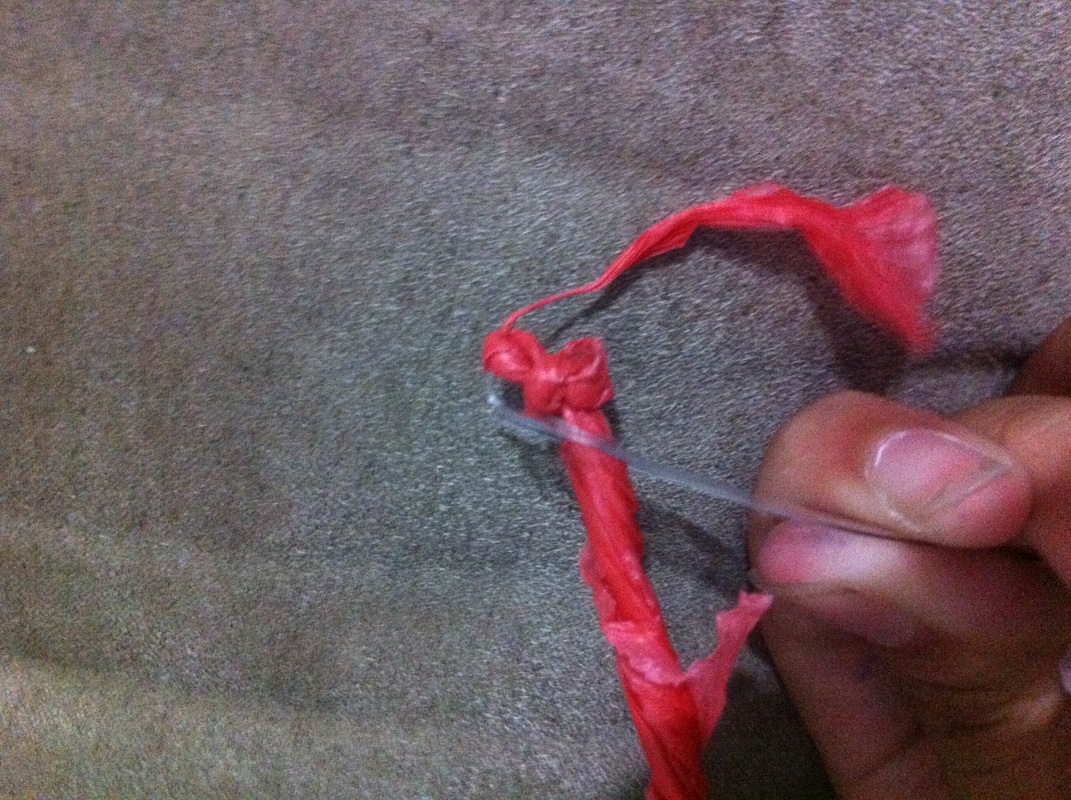
5. Take a plastic bag and cut a strip about 25 cm long. The length actually depends on which type of bottle you used so mine might not be so accurate. Twist the strip until you think that the strip of plastic is strong enough to hold the plastic bottle with pencils in it.
6. Put one end of the strip of plastic through one of the holes at the sides. The hole must be the one at the bottom. Tie a rubber band at the end of the strip which was put through the hole. The ones I have circled means that the hole can also have the strip of plastic put in it.
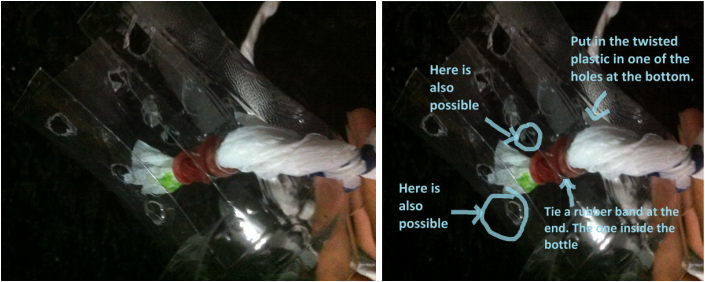
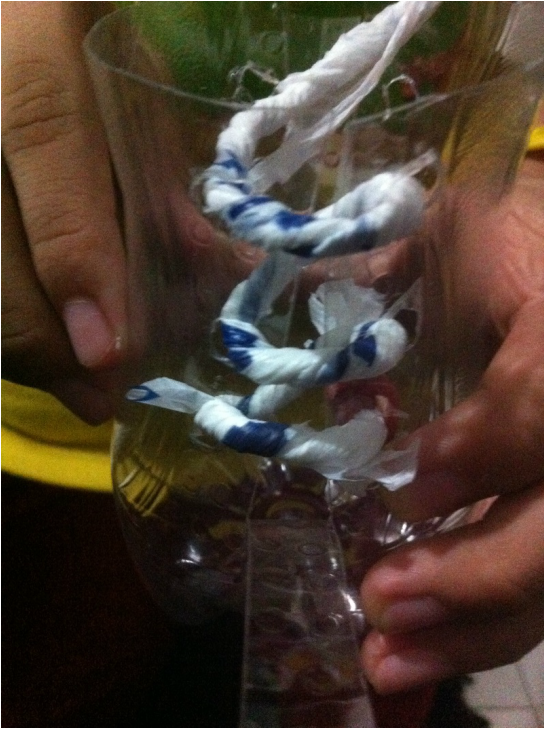
7. Next, put the longer strip of plastic that is outside the bottle into the opposite hole on its side. The longer side of the strip should be inside now. Next, put the longer strip of plastic through the opposite side and one hole up from the previous hole it was in. Keep doing this until the strip of plastic is at the top and inside the bottle.
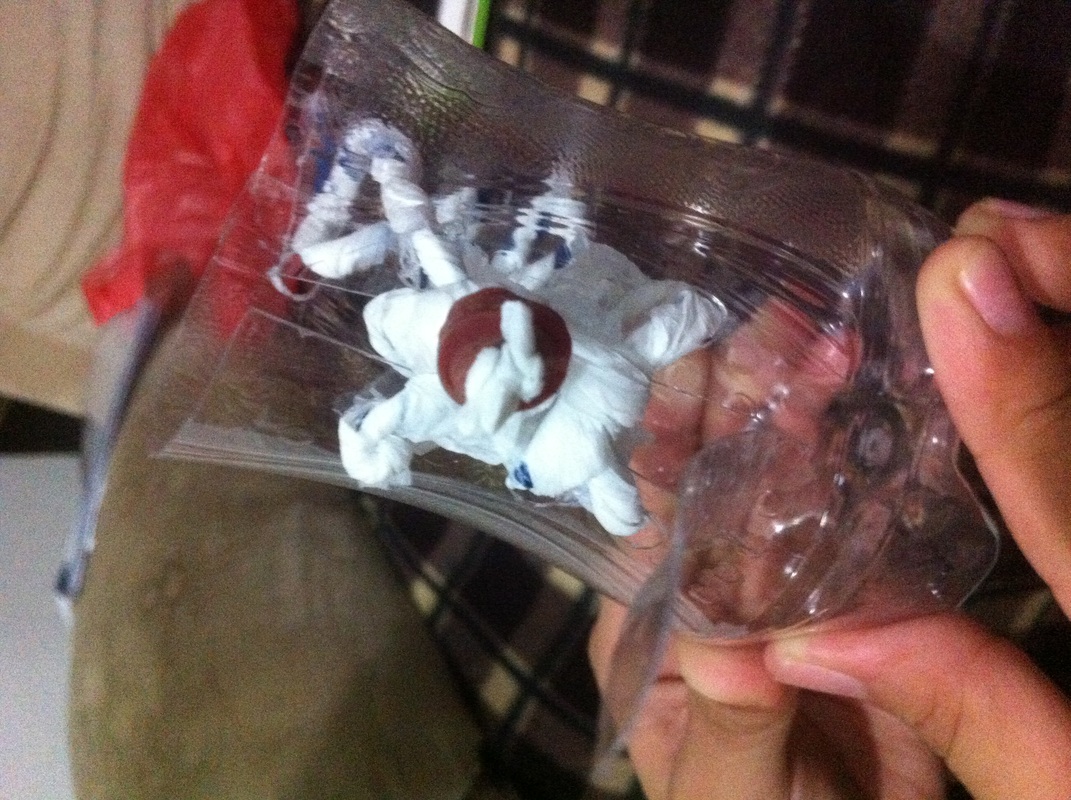
Keep doing this until the pencil holder looks like this:
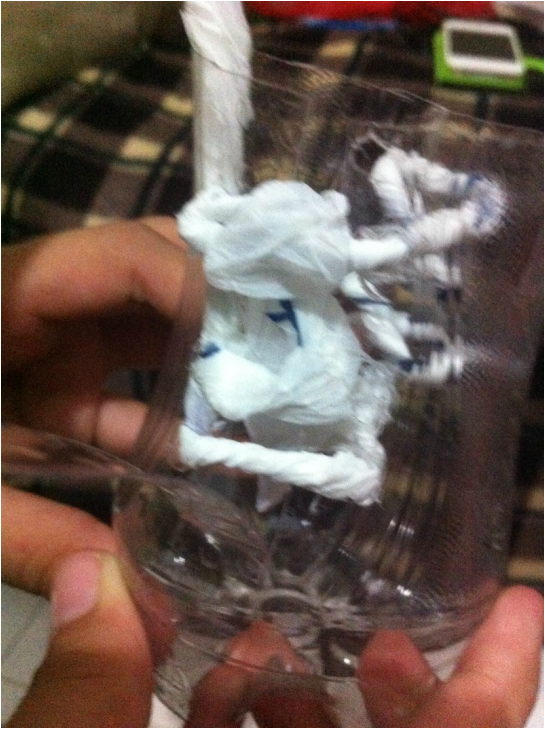
8. Then, push through the hole at the opposite side of the bottle with the hole. The hole must be at the top. This will create a divider. It is useful if you want to separate different kinds of pencil from the others.
9. After pushing it through, put it in the other hole opposite of it on its side. The plastic strip should be inside now. Cross it to the opposite side and one hole below it. The plastic strip should be outside now. Keep doing this until the plastic strip is inside and at the bottom.
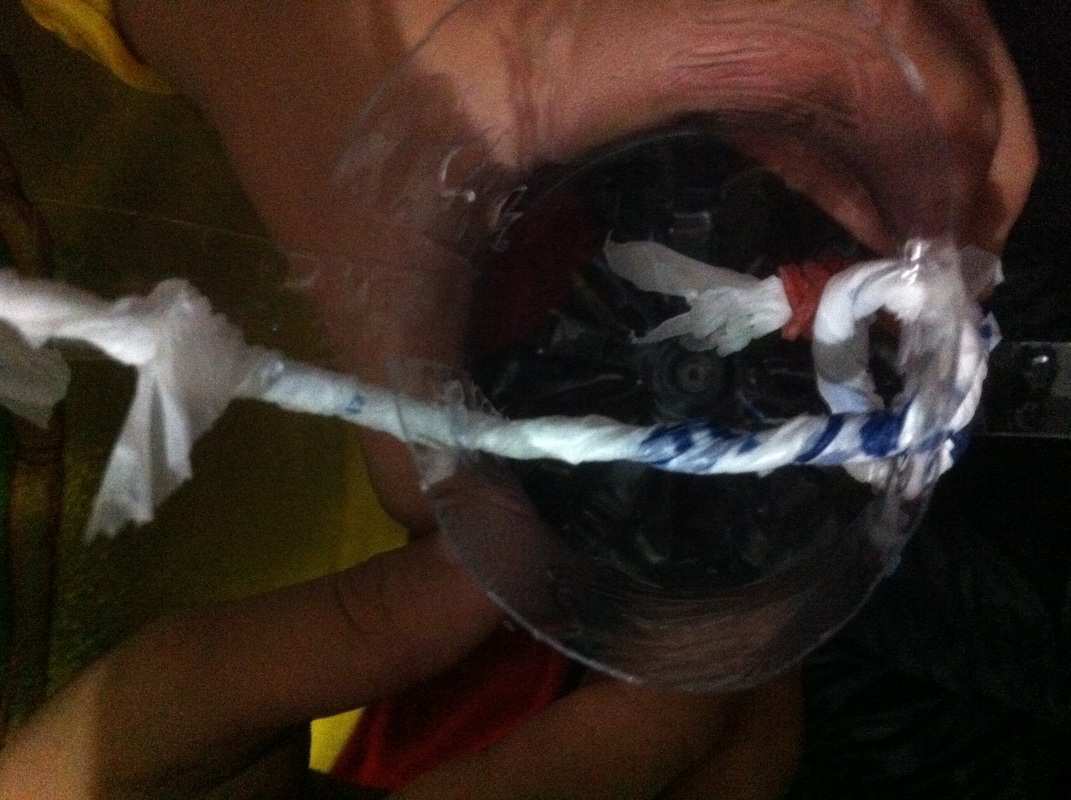
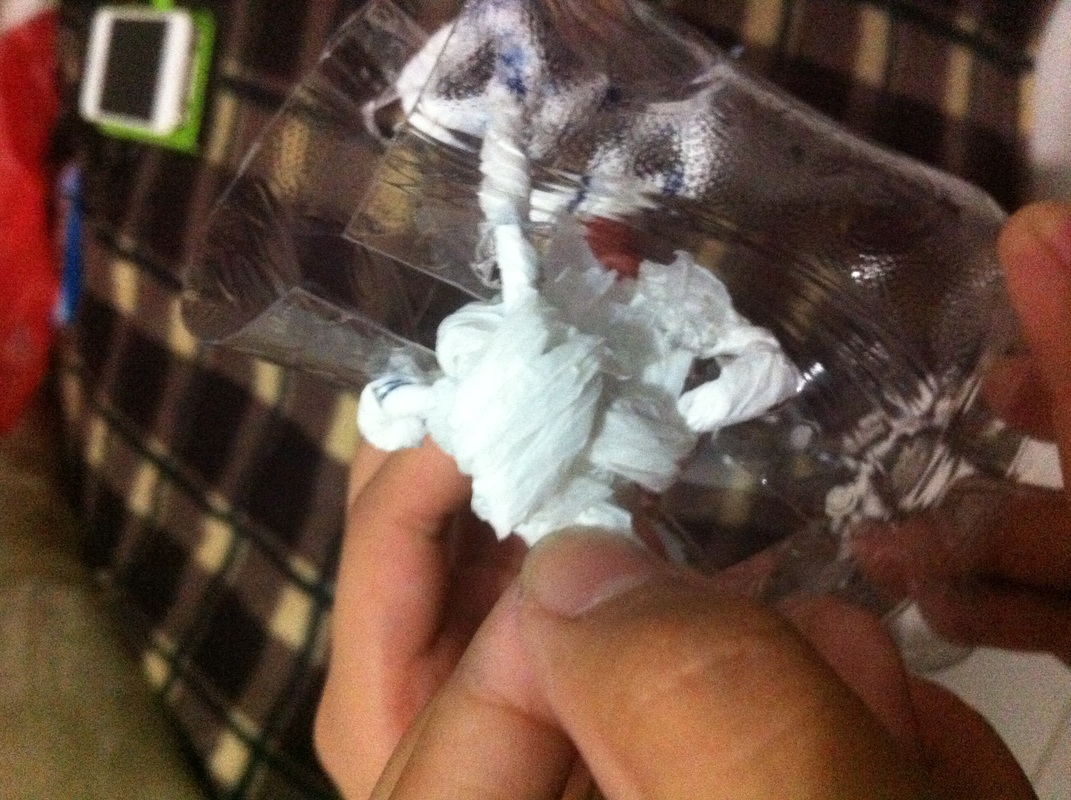
10. Now put the plastic strip so that it is outside the bottle. Coil it around the plastic wrap so that the excess can be tied off.

The strip of plastic should be outside now.

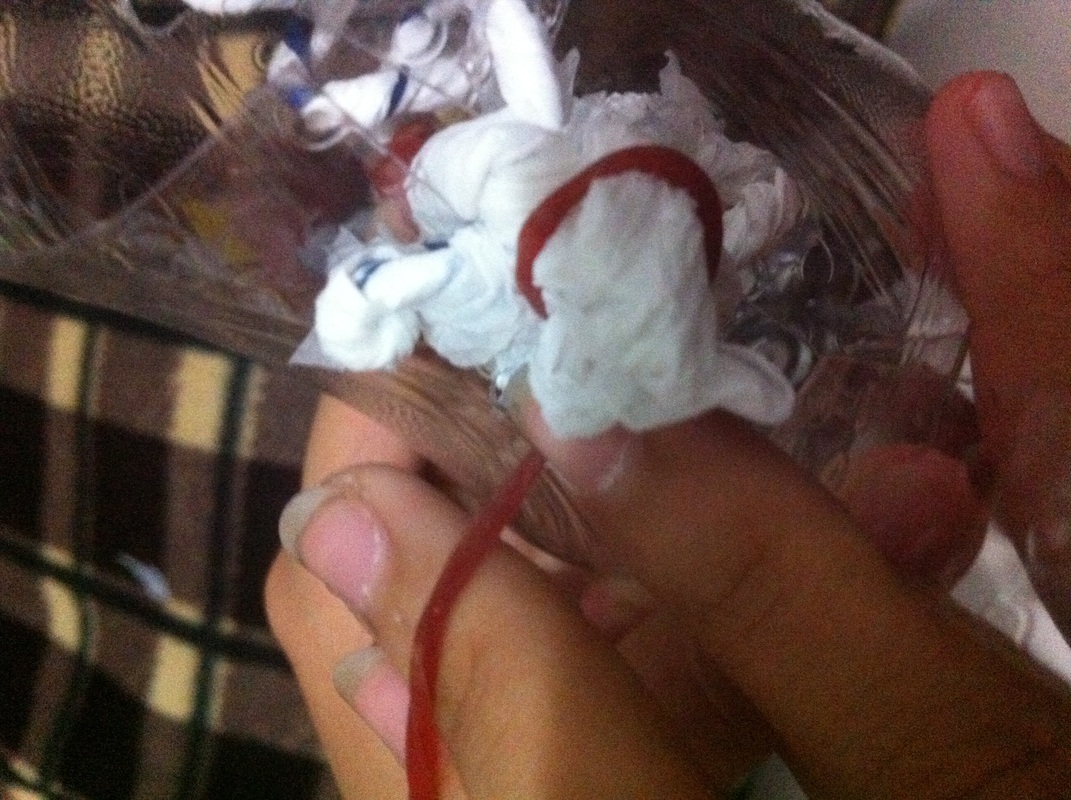
11. The excess plastic should be tied. First you should put it in the gap between the coiled plastic and the other plastic that was tied around the holes. After pushing it in, the plastic might be still loose. Tie it together and tie it with a rubber band.
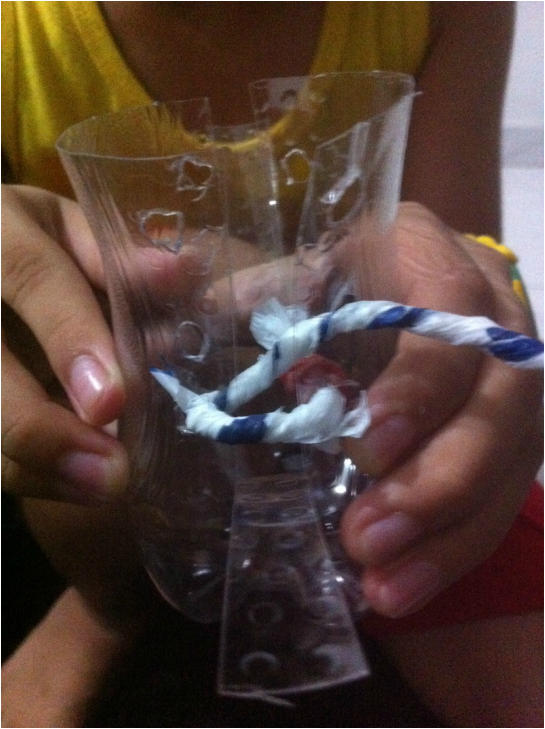
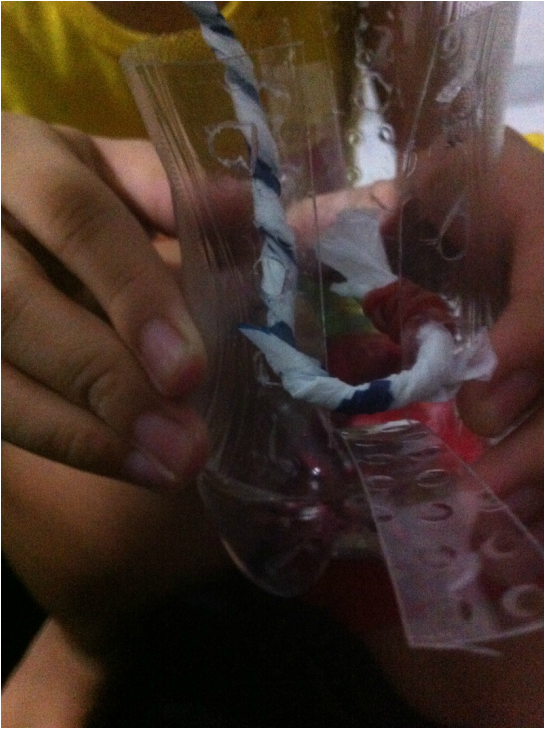
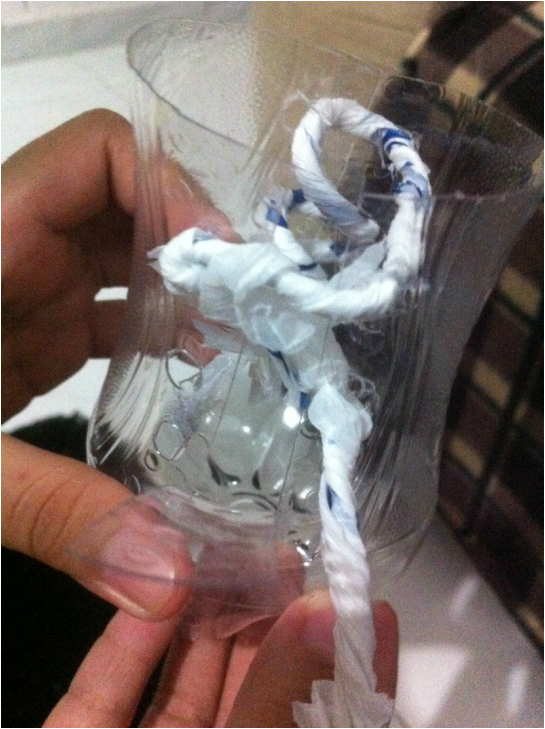
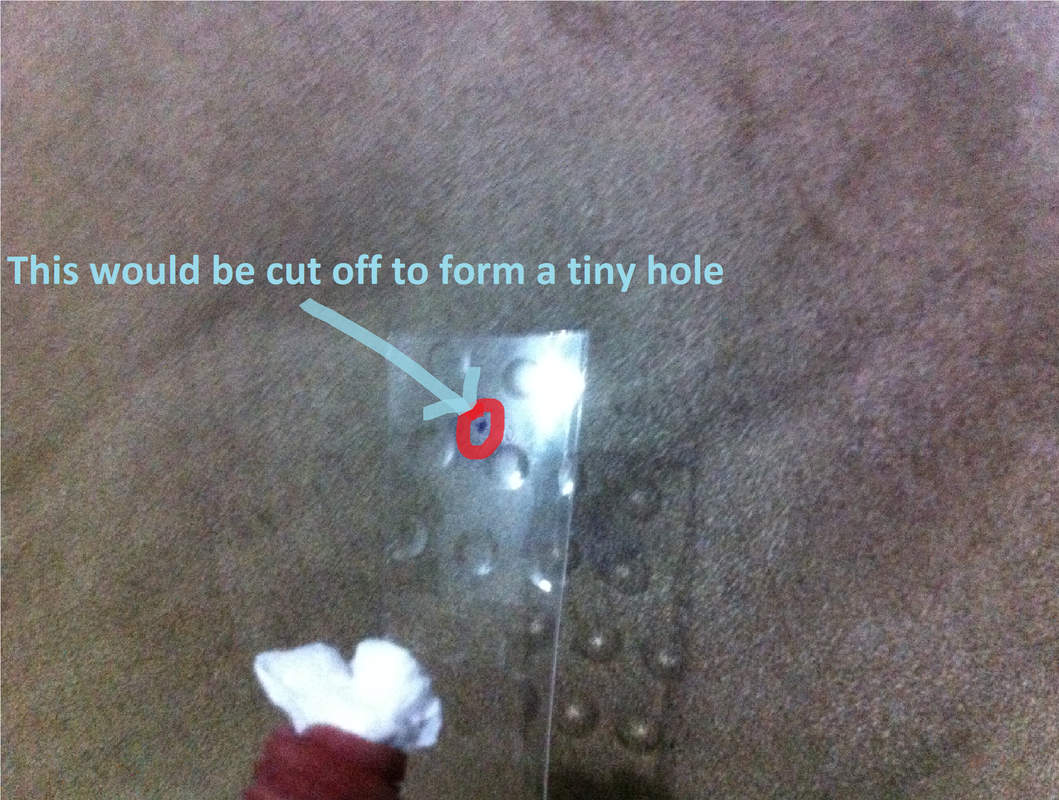
12. You should still have the two flaps. Mark a dot near the edge of the flap that is away from the pencil holder. This would be cut to make a hole. Do this on both the flaps.
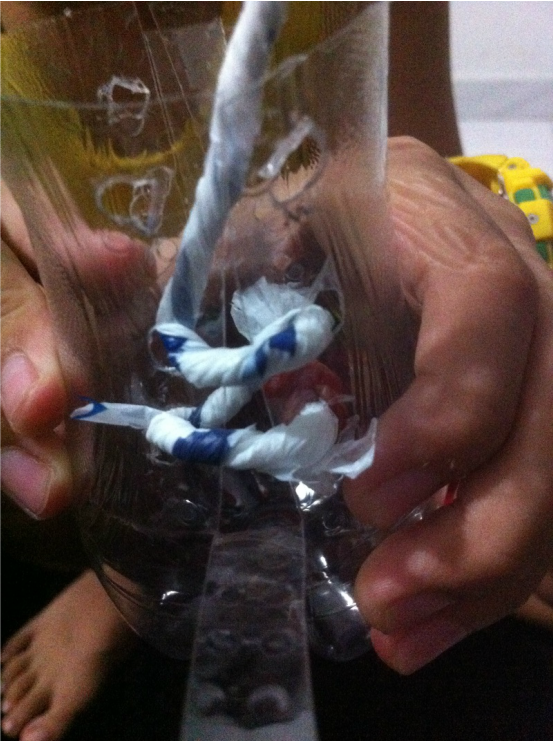
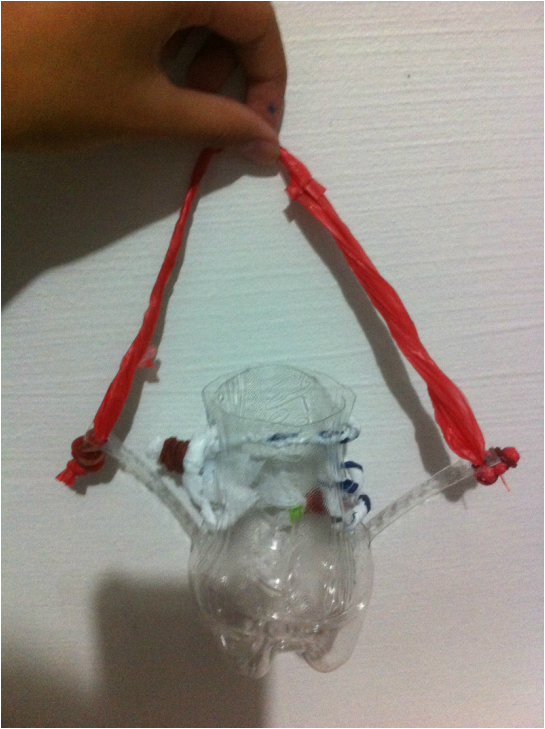
13. Cut another strip of plastic and twist it again. This time, insert it into the holes you made. Tie the excess plastic with another rubber band so that it is tight and it stays on its position. This will create a handle for carrying your pencil holder. A pencil holder is pretty light so the weight would not be a problem. This creates a great convenience when carrying the pencil holder from place to place. If the plastic strip is long enough, it can even be wore as a bag!
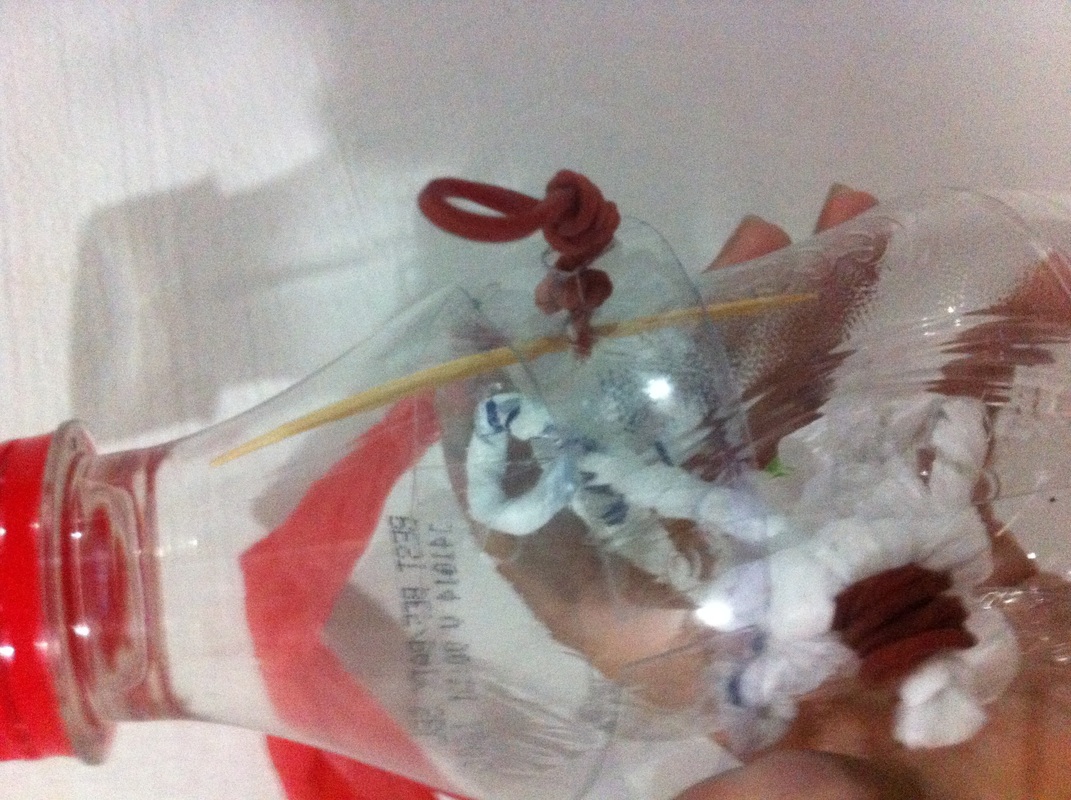
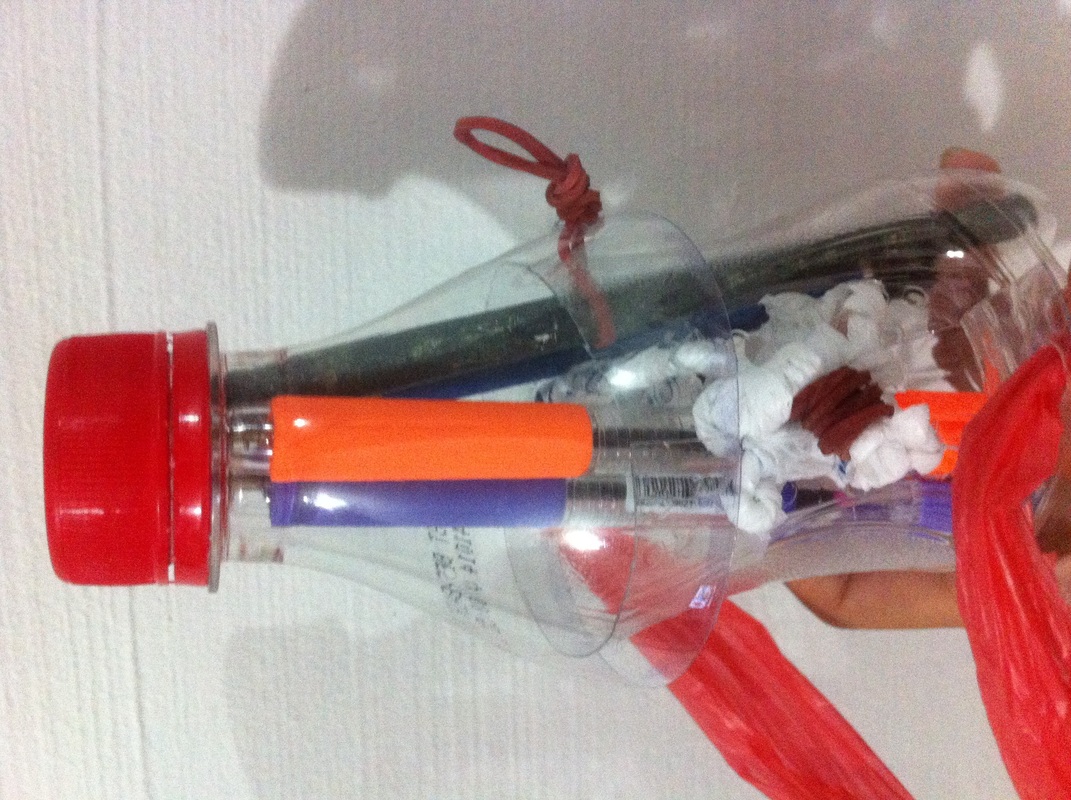
14. Next, poke a tiny hole on one side of the bottle. The hole should be cut at the top. Poke another hole from the top part of the whole bottle. The top part will be the lid for the pencil holder. This is very useful if you need to carry the pencil holder so that the stuff inside would not fall off easily. The rubber band is to keep the top more steady and attached to the pencil holder. Put in a rubber band though both holes so that the the pencil holder looks like this:
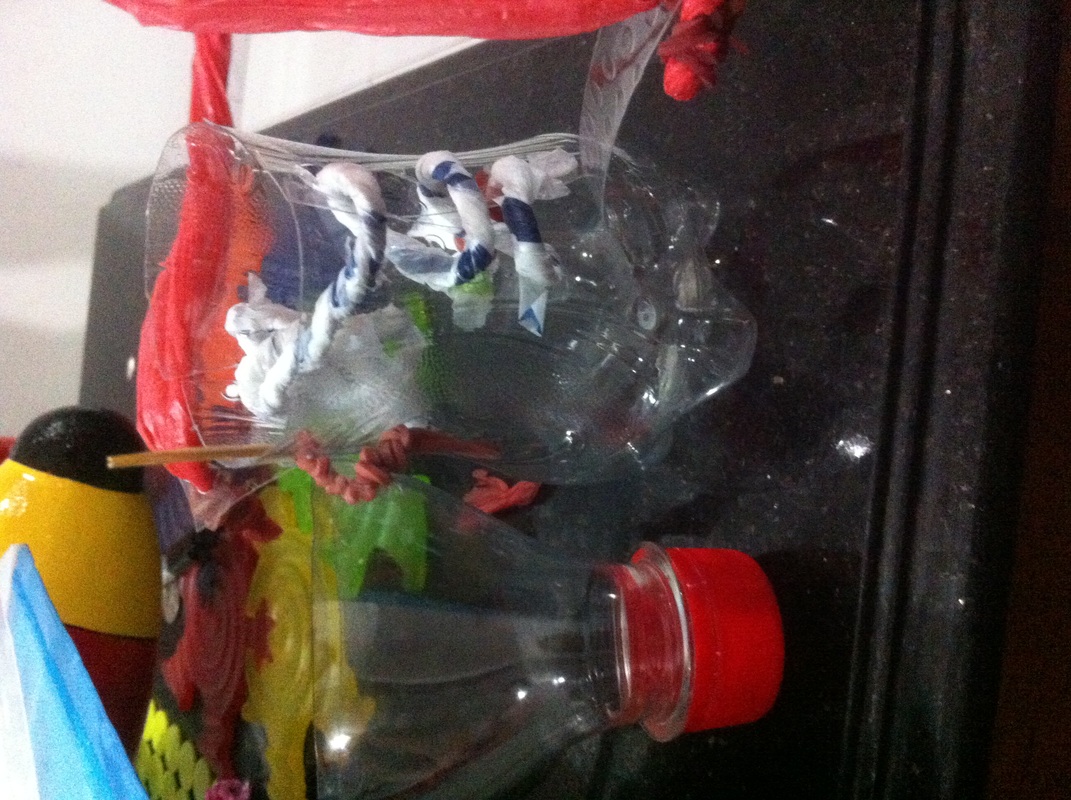
The toothpick is for the stopper. It is put there so that the rubber band will not come off the hole. Toothpicks can be recycled as well. You can change the toothpick to pencil instead. It will just as well to stop the rubber band from coming off. If all else fails, just tie them up.
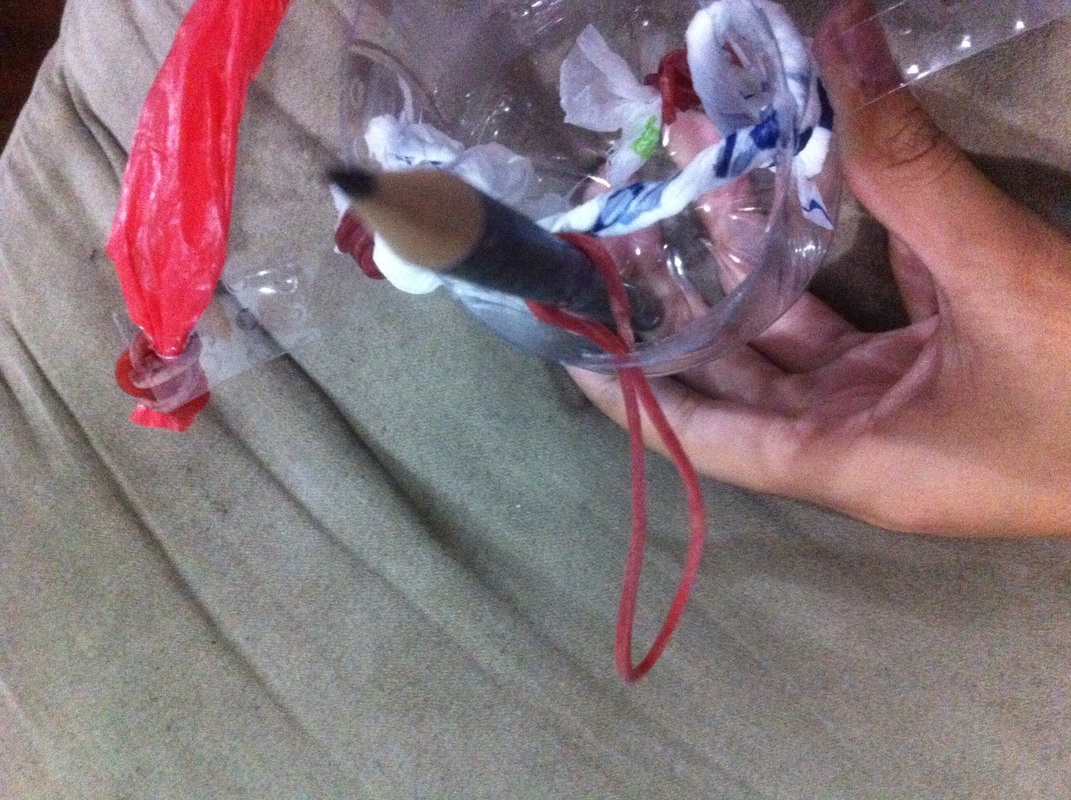
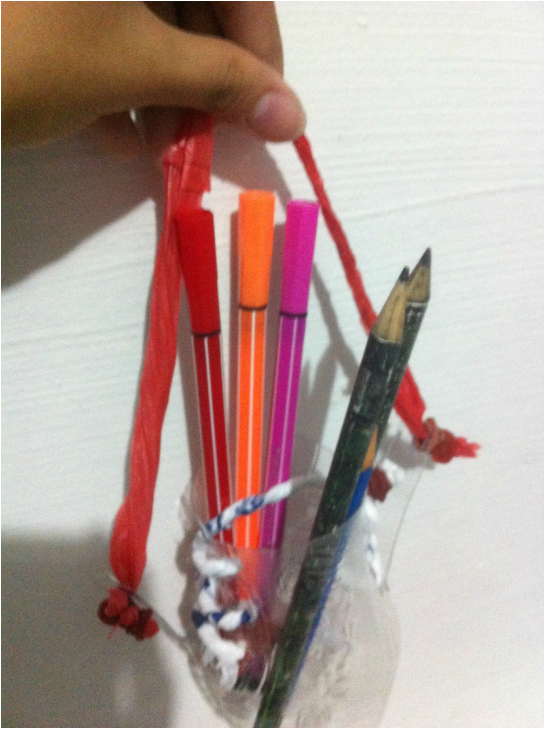
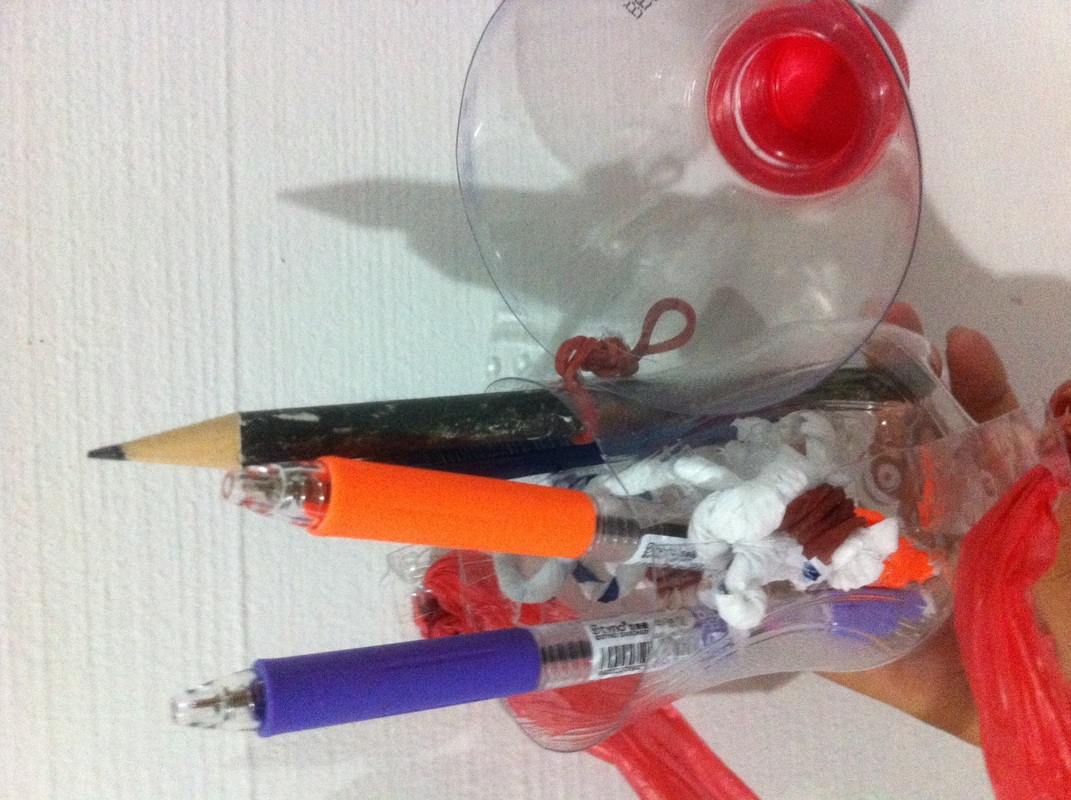
The pencil holder is done! I could decorate it but I need to show the interior for you to see it better. Now I can carry my pencil holder around conveniently and I can even choose to separate different kinds of pencils if I needed to. If the pencil holder somehow brakes, I can recycle every part of it!

You can also put erasers to put as weight so that the bottle wouldn't topple over if the cap or the pencils are too heavy.
 RSS Feed
